
")


The Shoe Creator is a cool feature in NBA 2K24 that let’s virtual hoopers design their own custom shoes to wear around The City and in MyCAREER. If you’re wondering how to create your own custom signature shoe or need help with the shoe not showing up for you, check out this step-by-step, full tutorial on how to create and equip your own custom shoe designs in NBA 2K24!
How to Create Custom Shoes in NBA 2K24:
Check Shoe Availability
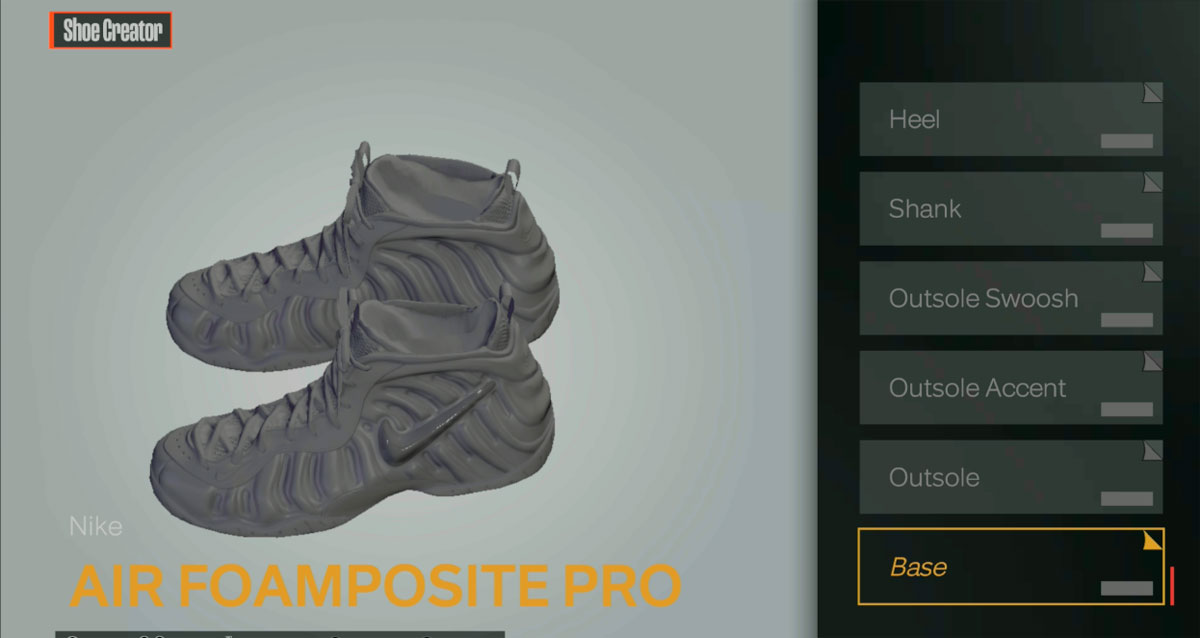
- Before creating your custom shoe, you’ll want to confirm that it’s going to be available for your MyPLAYER to wear. Do this by first going to Main Menu > Features > Shoe Creator, and then find a brand/model you want to edit.
- Then, go to The City and find the shoe brand / store or model that you want to customize
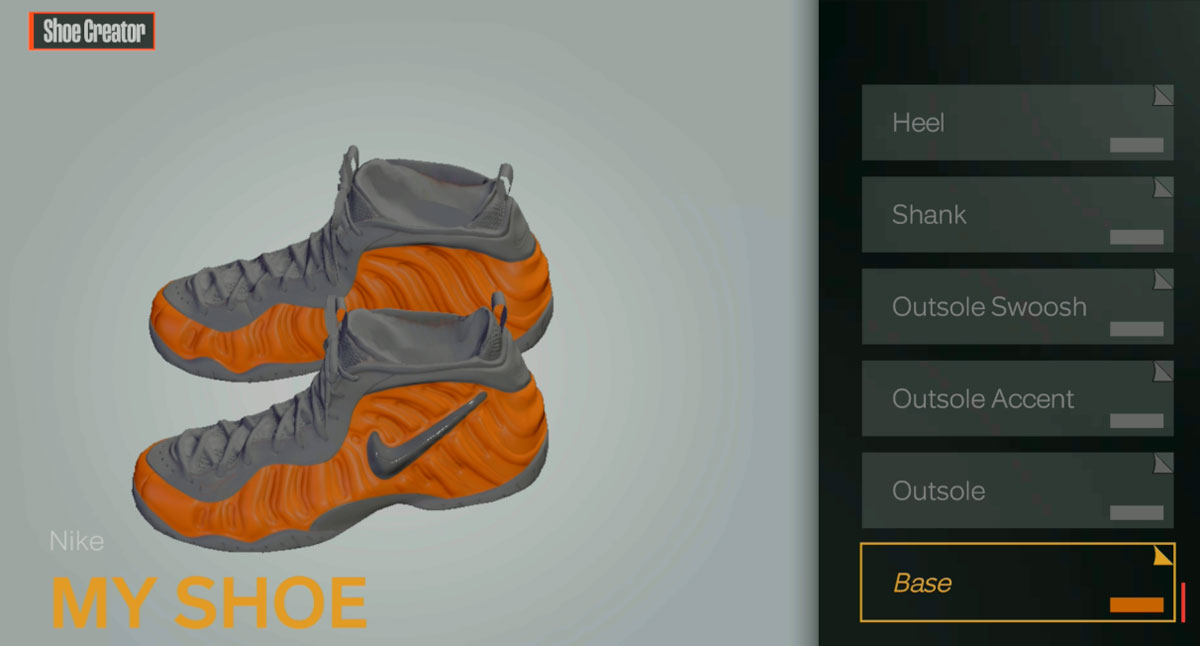
How to Design Your Custom Shoes
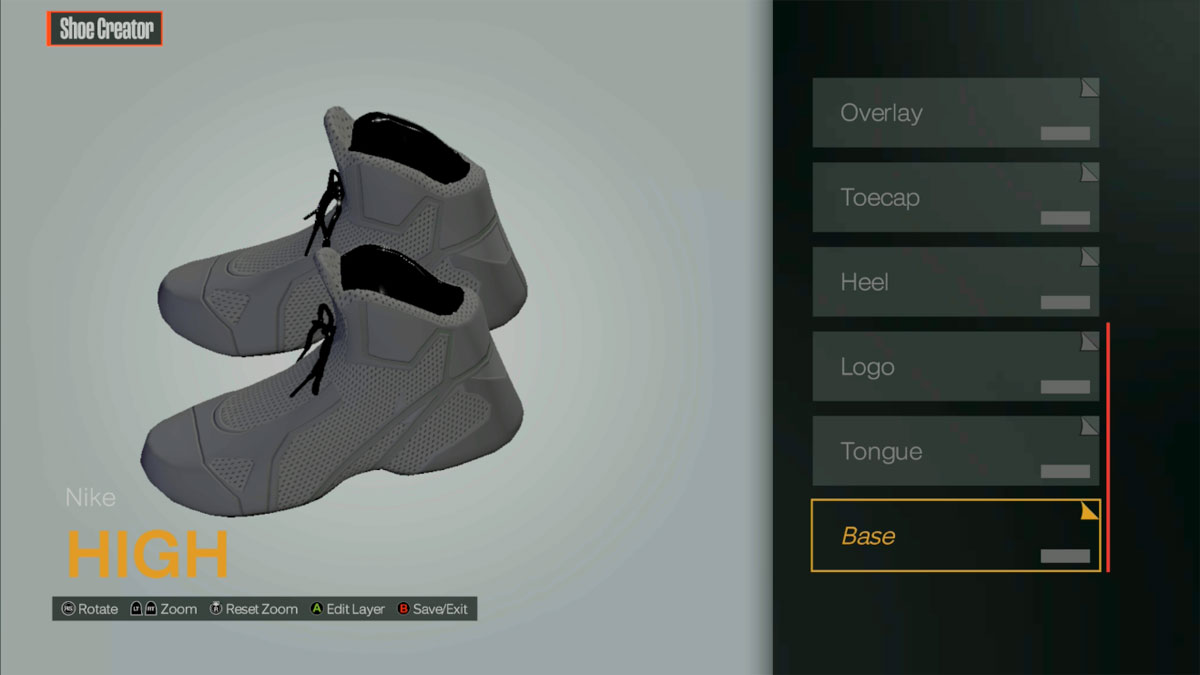
- Once the shoe / brand has been confirmed that it’s available in The City, exit out and go back to the Shoe Creator and customize / design your shoe to your liking.
- Select either a) Edit an existing shoe or b) Low, Mid, High options to create a shoe from scratch.
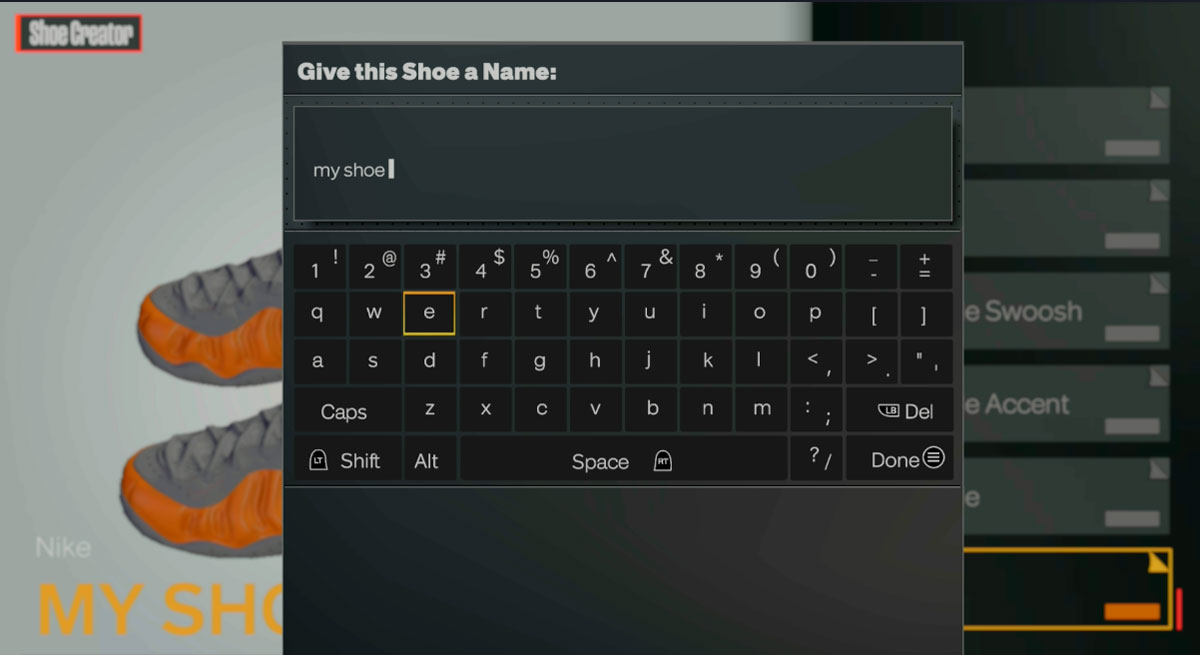
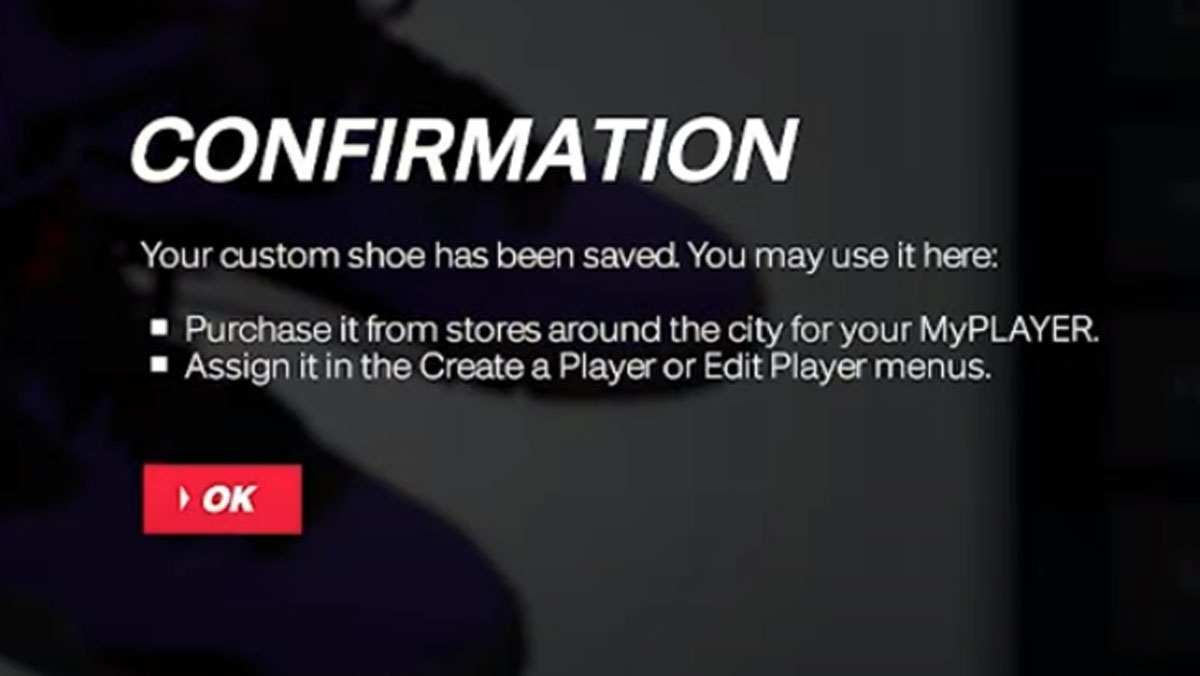
- After you’re happy with the design, select the Save button
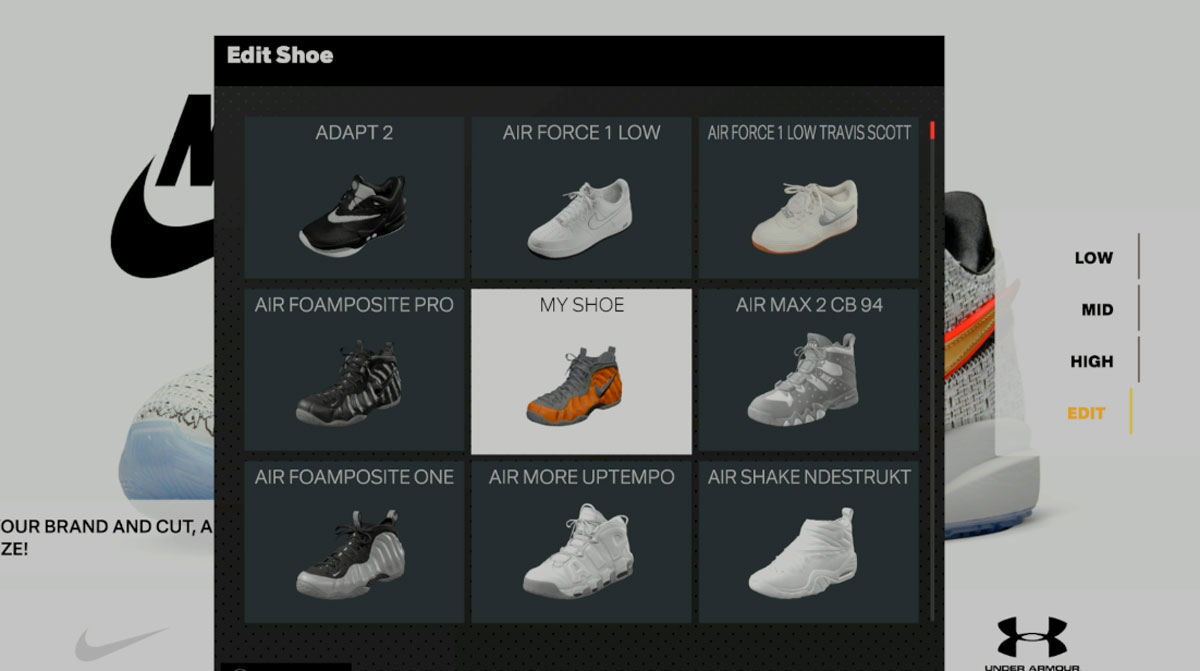
Note: after saving a shoe, the shoe will appear in the shoe menu, where you can edit the shoe or delete it as well (as long as it’s before purchasing it).
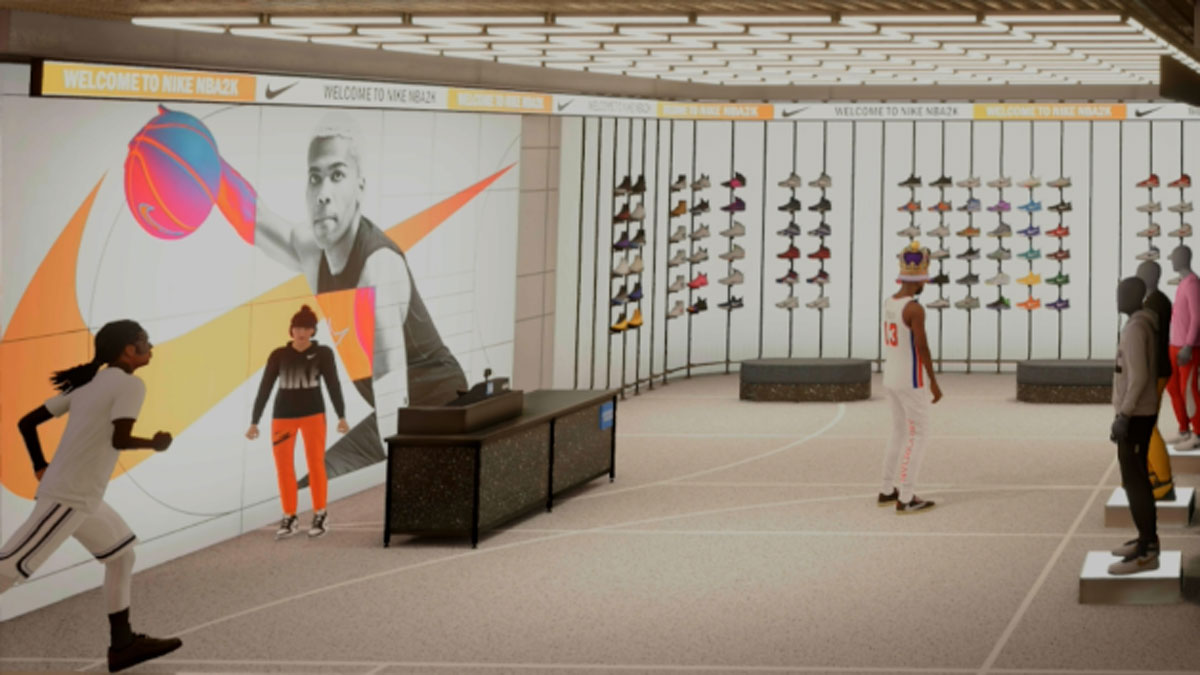
Purchase the Custom Shoes in The City
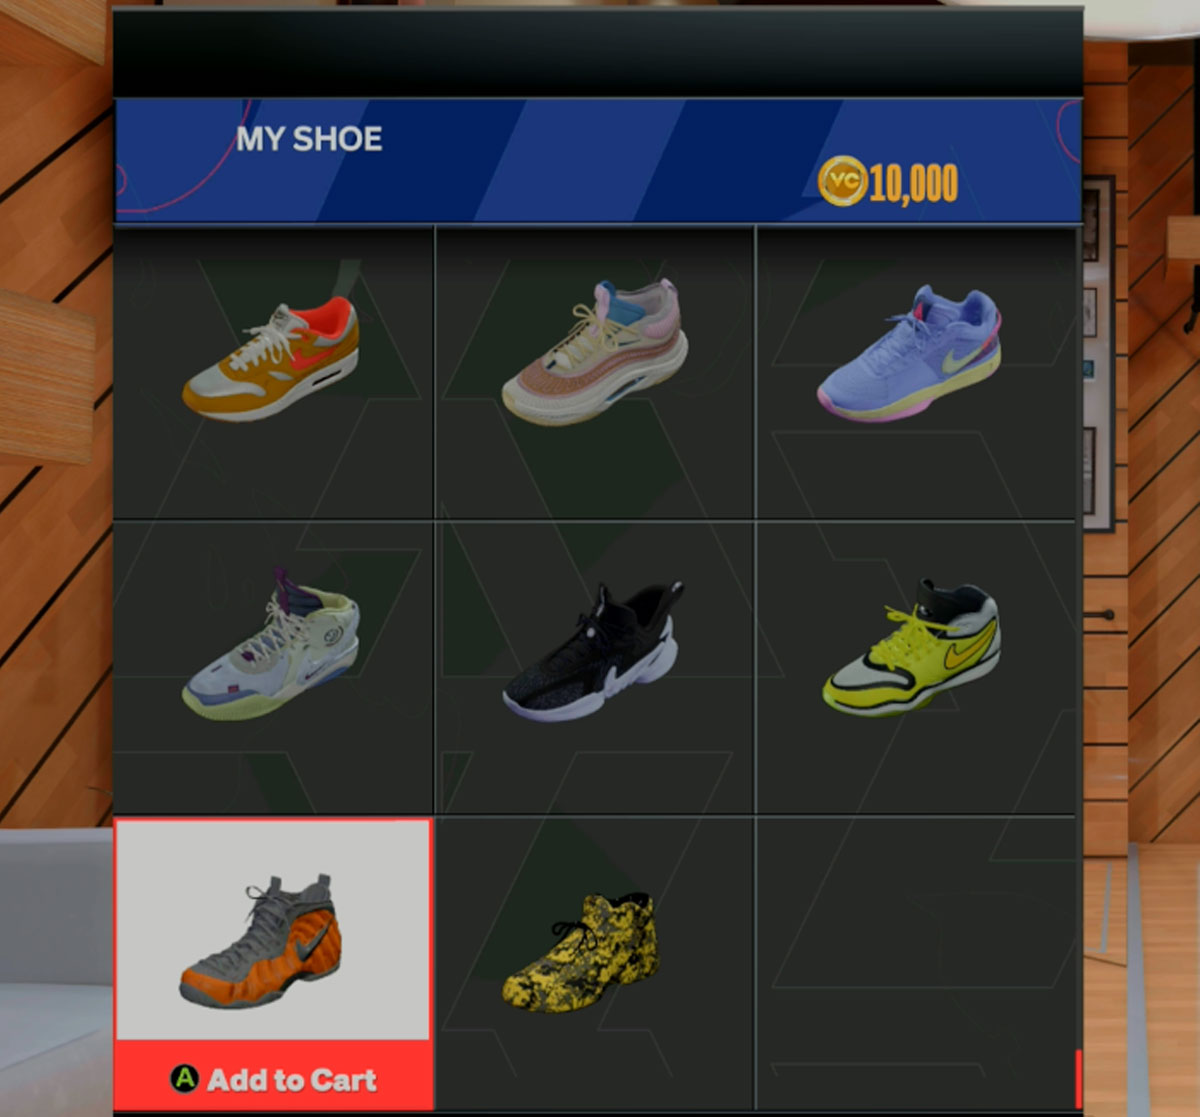
- Once you’ve back to The City, find the brand / store of your custom shoe
- Scroll all the way down until you see the shoes’ Colorways
- Scroll all the way down from there to find your custom shoe and hit ‘Add to Cart’
- Purchase your shoe, the cost is 10,000 VC
Equip Your Custom Shoe
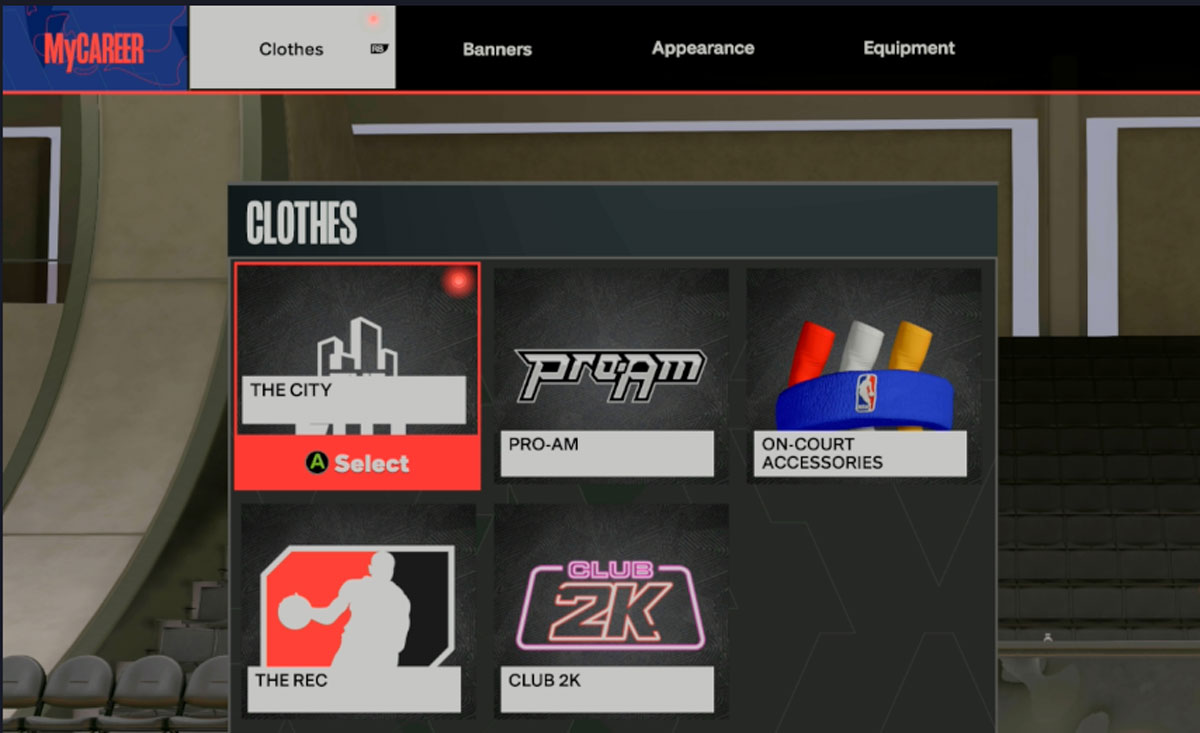
- Go to MyCAREER > MyPLAYER > Appearance
- From here select the game mode (City, Pro-Am, Rec) you want to equip the shoe for
- Scroll down to Shoes and equip your custom shoe!
There you have it! You can now wear the shoe around The City and MyCAREER.

")


")
