


Here’s the full tutorial for creating a player, how to add a created player to a roster, and loading a roster in NBA 2K23!
Also See:
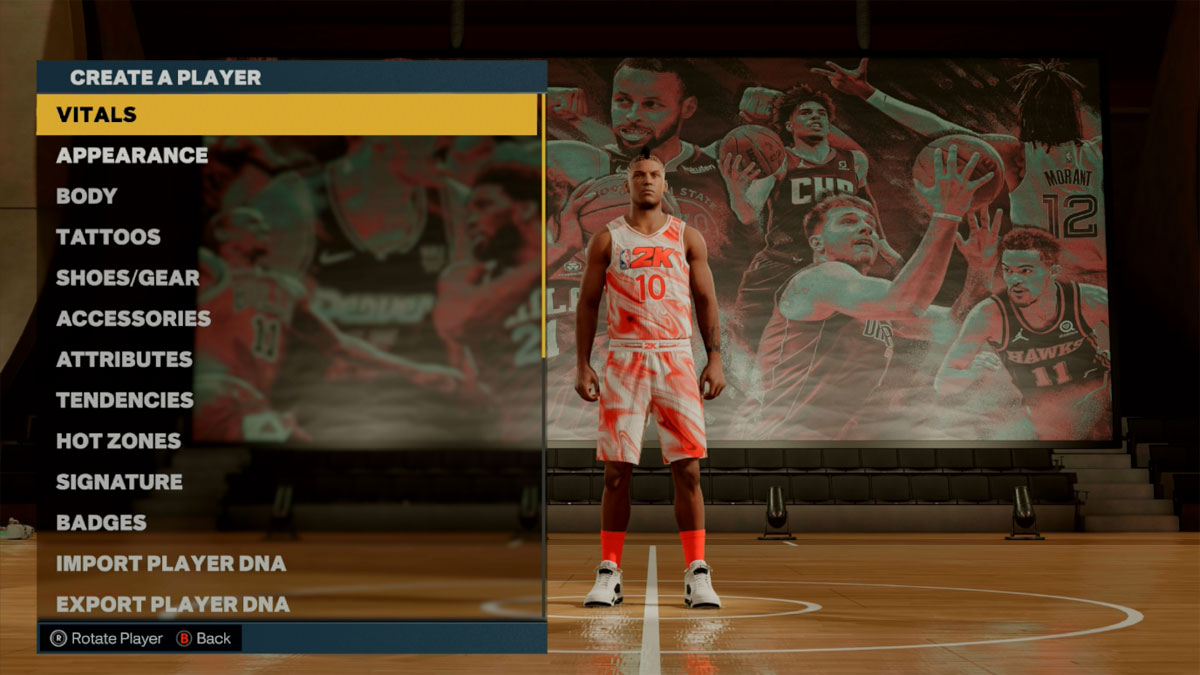
How to Create a Player in NBA 2K23
- Go to the main menu > Options / Features > Create A Player
- Pick a League (NBA or WNBA)
- Select ‘Add New Player’
- Create and customize your player, then press ‘Complete’
How to Add Created Player to Roster
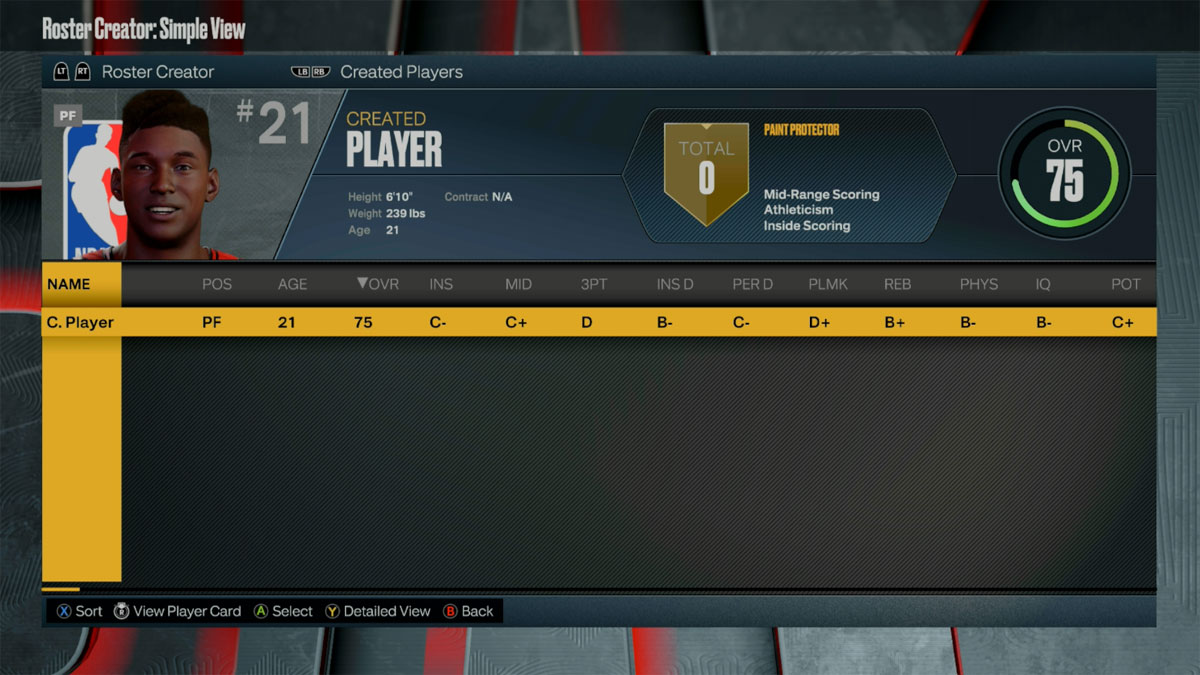
- Go to the main menu > Options / Features > Create Roster
- Pick a League (NBA – Modern, Kobe Era, Jordan Era, Magic vs Bird Era, or WNBA)
- Under Roster Picker, select ‘Official 2K Sports Roster’
- Using LB/RB or L1/R1, scroll to the ‘Created Players’ Section’
- Click on your Created Player and then select ‘Copy to Team’ (note: if a team has 15 players on the team, you’ll have to release one of their players to make room for your Created Player. You can also adjust lineups and minutes so that the Created Player sees playing time).
- Press B / Circle to exit out and save the roster to a new file
Now that the roster is saved, you can use the created player in matches or game modes (other than MyCAREER). Here are the instructions to load a roster:
How to Load a Roster in Play Now

- While setting up a match or in MyNBA, click the Left Stick to ‘Load Roster’
- Select ‘User-Created Roster’
- Scroll to ‘My Files’, then select the custom roster you want to use, or select uploaded rosters from other users.
How to Load a Roster in MyNBA Eras
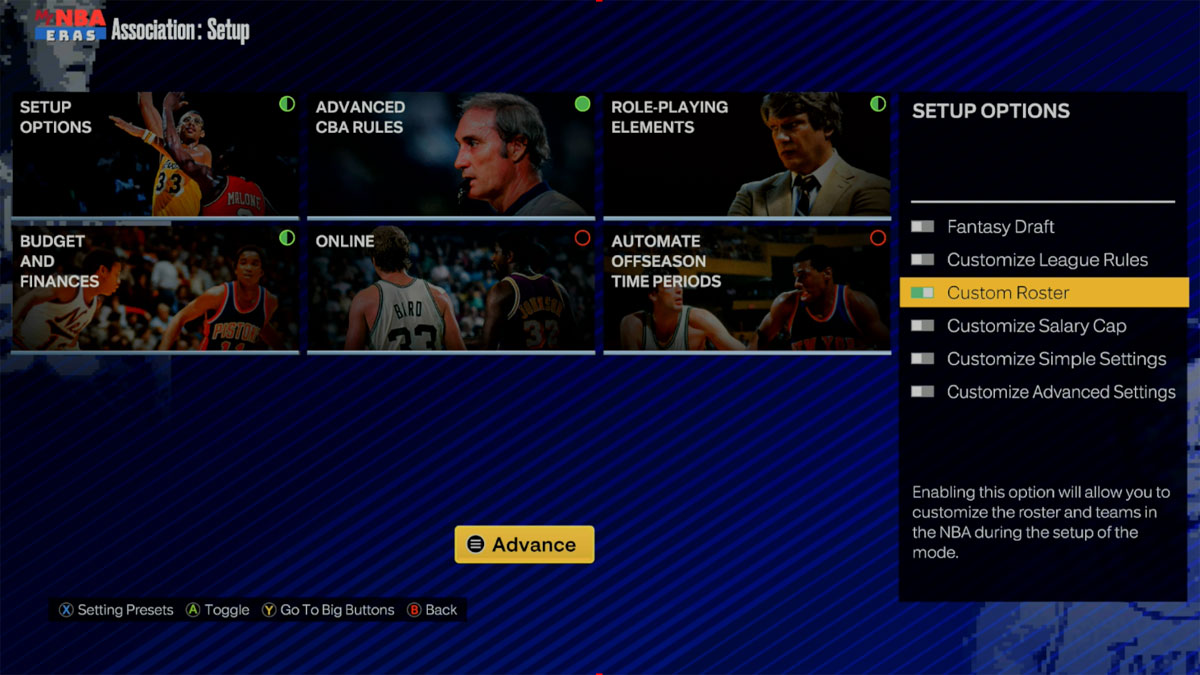
- From the main menu, go to MyNBA and select ‘New’ in an open slot
- Choose a MyNBA Era
- Under Setup Options, click Y / Triangle to go the Options List
- Turn on ‘Custom Roster’ and hit the start button
- Scroll to ‘My Files’, then select the custom roster you want to use, or select uploaded rosters from other users.
There you have it! Be sure to check back here at NBA 2KW for more NBA 2K23 tutorials!
Thanks for your feedback!


