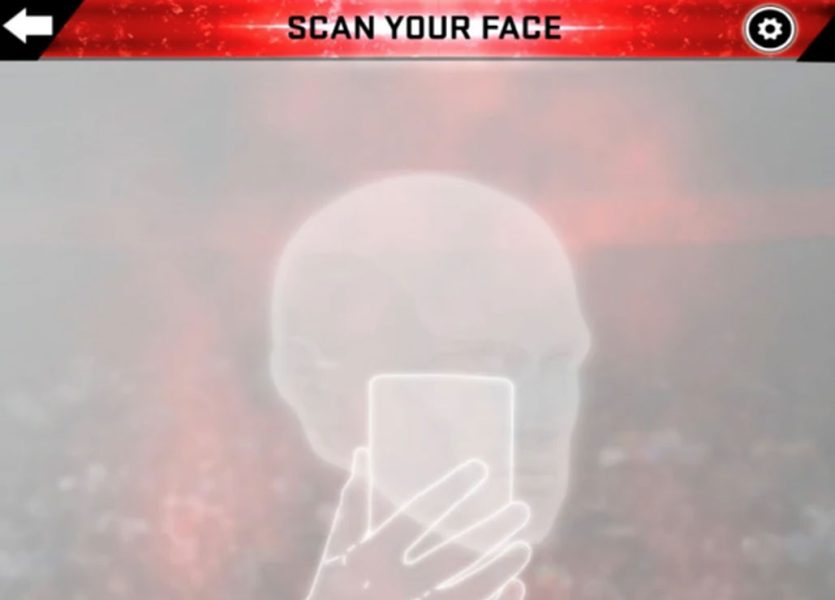
If you’re having problems with the face scan not working or giving errors, here are tips to scan your face into NBA 2K20 for your MyPLAYER.
Step 1: Download the NBA 2K20 Demo on PS4 or Xbox One and log in and link to your NBA 2K account. If you don’t have an NBA 2K account you can create one.
Step 2: Download the MyNBA2K20app on iOS and Android devices
Step 3: On the MyNBA2K20 app, click on “Console”, then the “Face Scan” button. Remove glasses, hats and other things. The app suggests: “For the best results have a friend scan you using your rear-facing camera”.
Step 4: Important: Scan in area with sufficient lighting. Natural light during the day is preferable, but not required. Also a bathroom with the lights on may work as well. Make sure your face is in even lighting from the front with as few shadows as possible.
Step 5: Look directly at the camera of your phone and center your face in the oval. Rotate your face slowly in a 30 degree angle so that it can get the angles of your face. Be sure to move your head, not the device with the camera.
Step 6: It has to capture 13 types of face angles and have all of the lights marked in as green (it will make a sound when scan is complete). If it’s successful, you can upload the face scan to NBA 2K20, or try again and retake images. If happy with your scan, hit “upload images”.
Step 7: Go back to the PS4 or Xbox One NBA 2K20 demo and click the “Scan Your Face” button and then “Check for Head Scan Data”. It will then start uploading the face of your image on the player and building your likeness. After it gets to 100%, click on the face scan avatar, where you can edit parts of the face. That’s it, your done!
Note: If you encounter the “We were unable to find head scan data” popup, try retaking the images through the app.
Hope these tips helped you to get your face scan in NBA 2K20! Be sure to check back here at NBA 2KW for plenty of NBA 2K20 tips throughout the 2K20 season!




MyNBA2k20 scan face works for NBA 2K19 game? I will find my scanned face in 2K19?